1. Set up your first ReadyNAS Vault Backup Job
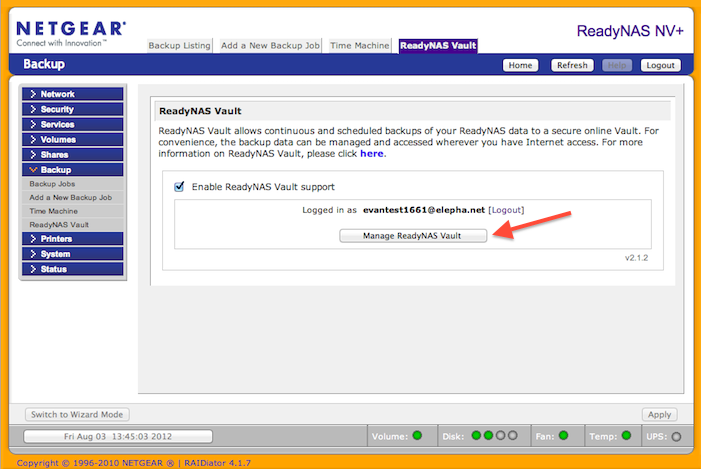
Once you have enabled Vault on your ReadyNAS, you will see a link to Manage ReadyNAS Vault. Click the 'Manage ReadyNAS Vault' link or go to https://vault.readynas.com/account/login.aspx .
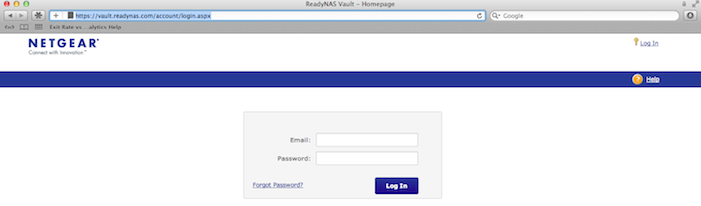
You’ll first be sent to a login screen where you can enter your password set above. This is an Internet-accessible site where you can manage your ReadyNAS backup jobs even when you don’t have direct access to your ReadyNAS.
Your first login will put you through a short Wizard. You can elect to accept the default Recommended Set-up or enter Advanced Set-up. To get going really quickly, just click Next.

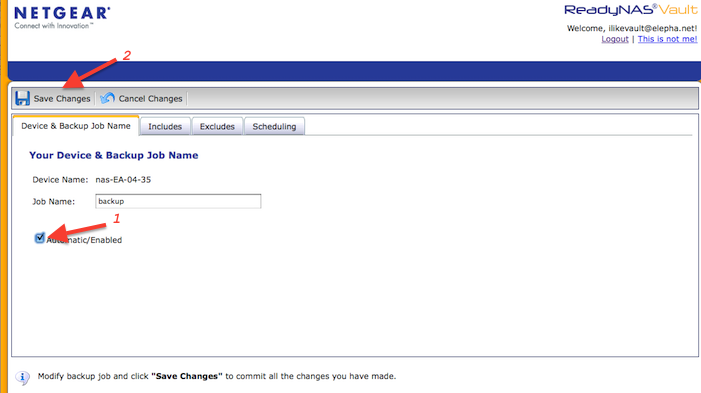
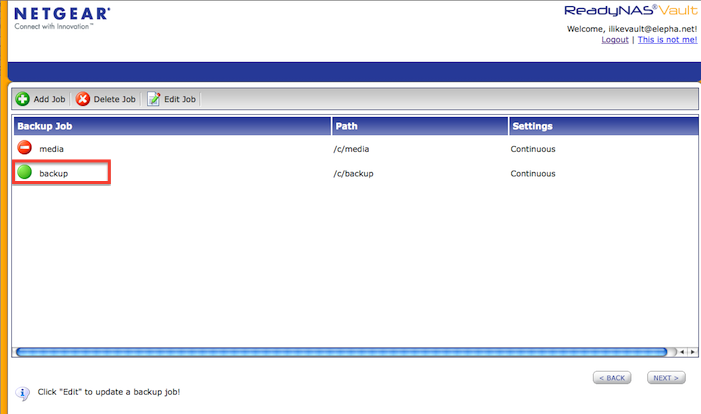
You’re presented with a couple pre-defined backup jobs that are initially disabled. To enable the job, click on the backup job entry and click Edit Job in the command bar.

Select the Automatic/Enabled checkbox to enable the job, and click Save Changes at the top.
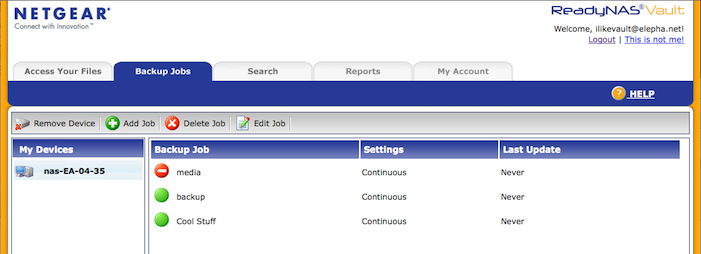
You’ll be returned to the Backup Job listing where you’ll see the new enabled job in green.
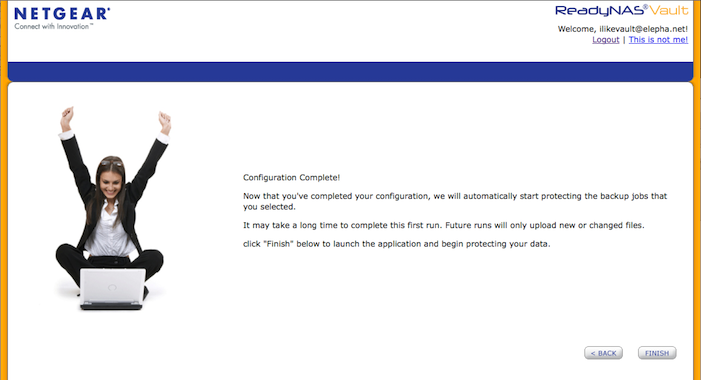
Click Next, and Finish to complete the Wizard.
2. Add a new Backup Job
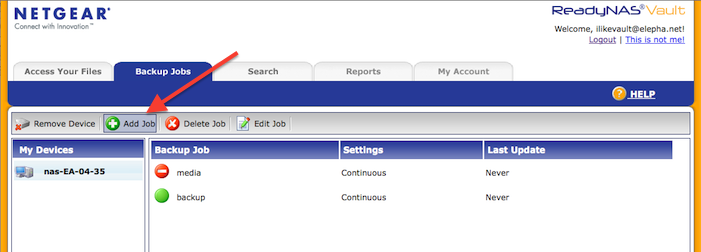
We’ve gone through the process of enabling an existing backup job in the Wizard. Now let’s continue and add a new job. To add a job, simply start by clicking on Add Job in the command bar.
You’ll have the opportunity to name your backup job and then enter the path that you would like to back up on the ReadyNAS. After naming the backup, click on the Includes tab. In our example below, we entered /c/backup/Cool Stuff. You will need to use forward slash (‘/’) to delimit the folders — those who are accustomed to Windows will need to replace the backslash (‘\’) with the forward slash. The format of the backup path is /volume/share/folder path. volume is typically c unless you’ve configured additional volumes, such as d, e, or f in Flex-RAID mode. share is the share name that you’ve configured in FrontView. And folder path is the path within the share where you wish to start the back up. The folder path can be left blank if you wish to start the backup from the root of the share.
In addition, you specify file extension(s) the you wish to backup. You can exclude certain paths as well by specifying them in the Exclude tab.

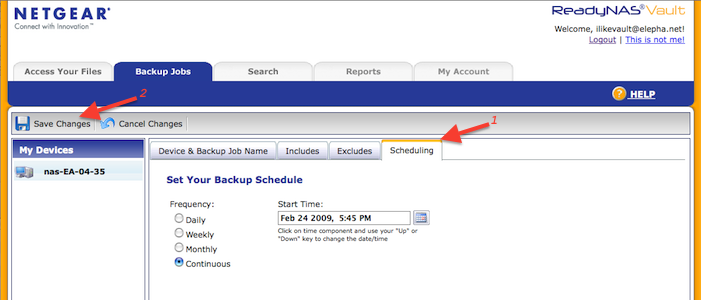
Next, select the Scheduling tab to setup how you would like the backup to occur. The default is to perform the backup about instantaneously whenever a file is added, deleted, or changed. This is the continuous mode. It does not necessarily mean that the backup jobs are running all the time, but only whenever and as soon as any changes occur. You can elect to perform the backup on a daily, weekly, or monthly basis as well. When doing this, you can specify the date and time on the ReadyNAS that you wish to start the first backup.
After selecting the scheduling, click Save Changes tab.
Once you’ve saved the changes, the backup will start as quickly as within a minute.